You're planning an event. At some point, someone will ask: "Have you sorted the badges yet?"
This guide answers every question you'll face from that moment to the day of the event — in the order you'll actually need to answer them.
Step 1: Decide What Type of Badge You Need
Before anything else — material, design, supplier — you need to know what kind of badge fits your event.
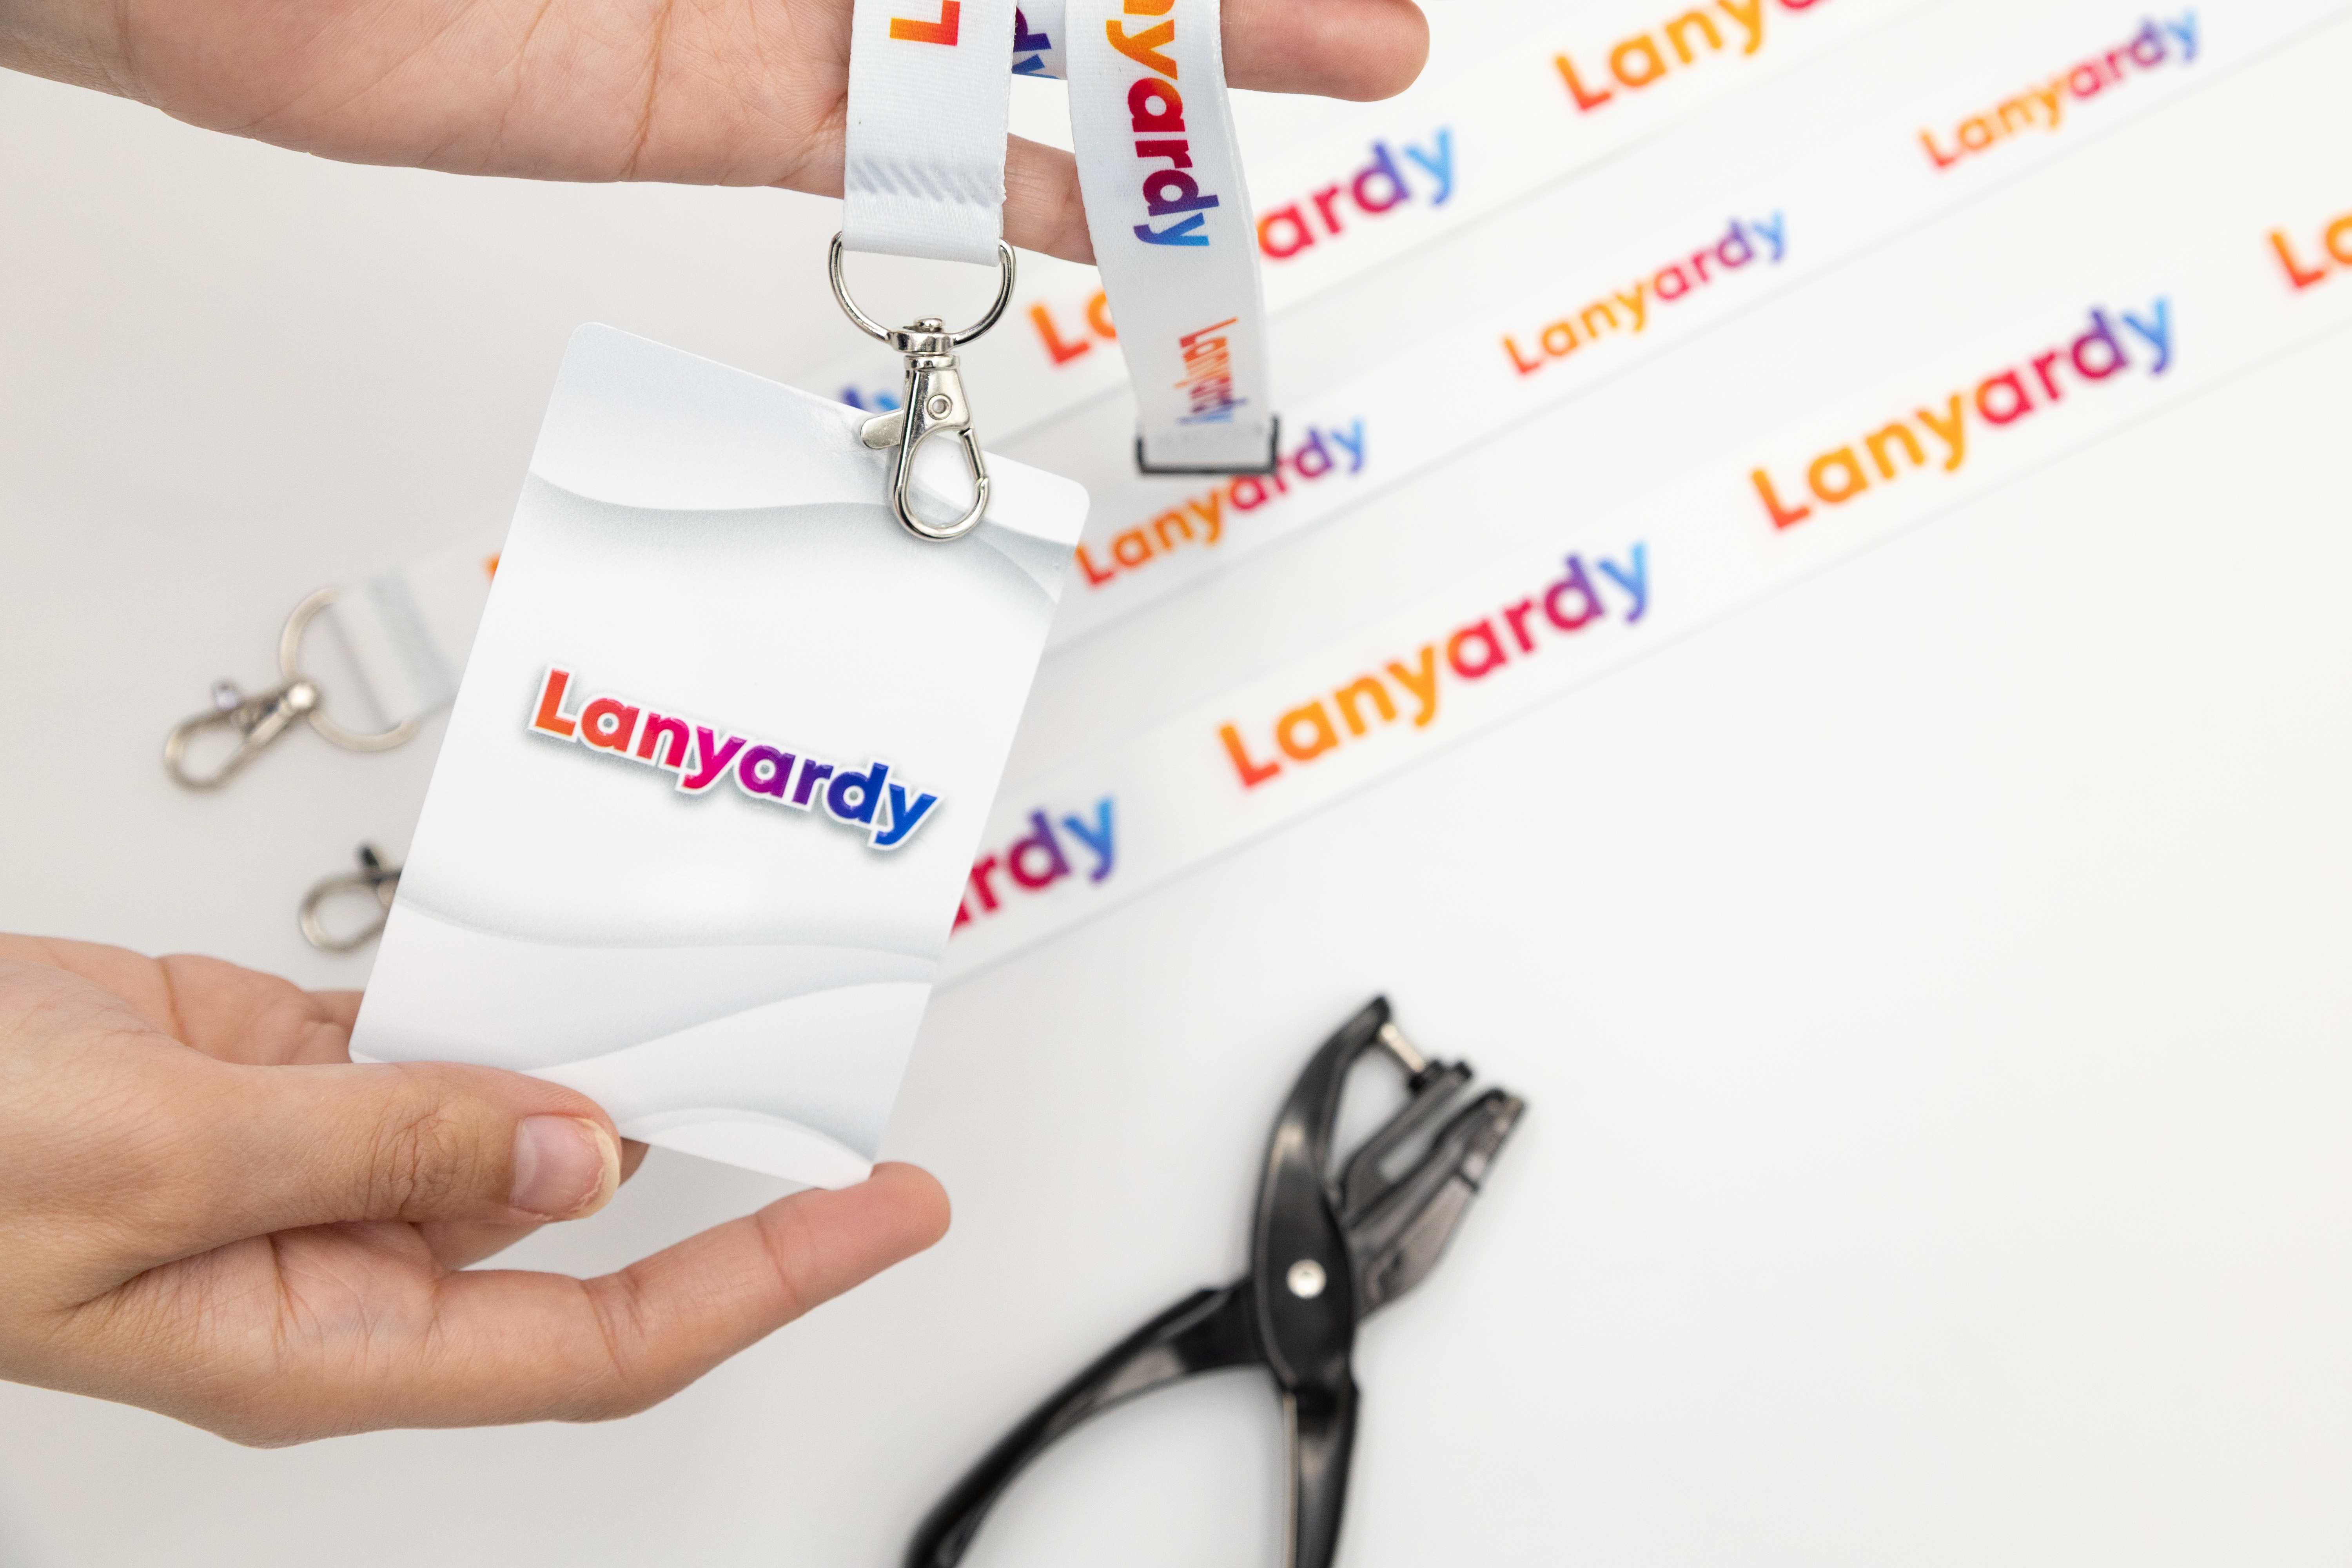
Paper insert in a plastic holder The go-to for most conferences, seminars, and corporate days. A printed sheet slides into a clear sleeve, clips onto a lanyard. Easy to produce, easy to update if your guest list changes late. The sleeve quality matters — a flimsy holder undermines an otherwise professional setup.
PVC card Rigid and durable. Right for multi-day events, exhibitions, or anywhere badges get handled repeatedly. Holds up across the event. Supports QR codes, barcodes, and magnetic stripes for access control. If badge quality reflects on you as an organizer, PVC is worth it.
RFID / NFC badge Has a chip embedded for contactless check-in, zone access, or session tracking. Built for large-scale events where managing crowds manually creates bottlenecks. Requires coordination with your access control system — plan for this early.
Not sure which to pick? For most events in Qatar — conferences, corporate days, exhibitions — a PVC card or a quality paper insert in a good holder is the right answer. Save RFID for events above a few hundred people where check-in speed is a genuine operational concern.
Step 2: Map Out Your Access Tiers First
This is the step most organizers skip — and regret.
Before you design anything, list every group attending your event: general attendees, staff, speakers, sponsors, press, VIPs, security. Each group that needs different access or different treatment on the day needs a distinct visual identifier on their badge.
Color is the most practical tool here. Security doesn't need to read a job title — they read a color. Staff can direct people without checking credentials. It takes five minutes to plan and saves hours of confusion on the day.
Get your tiers confirmed before you brief a designer or approach a supplier. Changing this after production has started is expensive.
Step 3: Decide What Goes on the Badge
Keep it functional. The badge has a job to do — don't let design get in the way of it.
Always include: Name, organization or company.
Add if relevant: Job title (helps with networking), QR code (for digital check-in or session tracking), zone or access tier indicator, event name or logo.
Often overlooked — the back of the badge. It's usable space. A floor map, event schedule, WiFi password, or emergency contact number on the back genuinely helps attendees and cuts the number of questions your staff fields all day.
One practical rule: test your design at arm's length before approving it. That's roughly how far away someone will be when they read it. If the name isn't immediately readable, the font is too small or the contrast is too low.
Step 4: Pre-Printed Names or Fill-In on the Day?
Pre-printed looks professional and signals a well-organized event. Requires a confirmed attendee list before your print deadline — you'll need a cutoff date and a process for handling additions.
Fill-in on arrival gives you flexibility for walk-ins and last-minute changes. Requires printing equipment at the door and a staff member running it. Works for smaller events; becomes a bottleneck fast as numbers grow.
The hybrid approach works well for larger events: pre-print confirmed registrations, keep a small printer at registration for late additions and walk-ins. Plan for it rather than scrambling on the day.
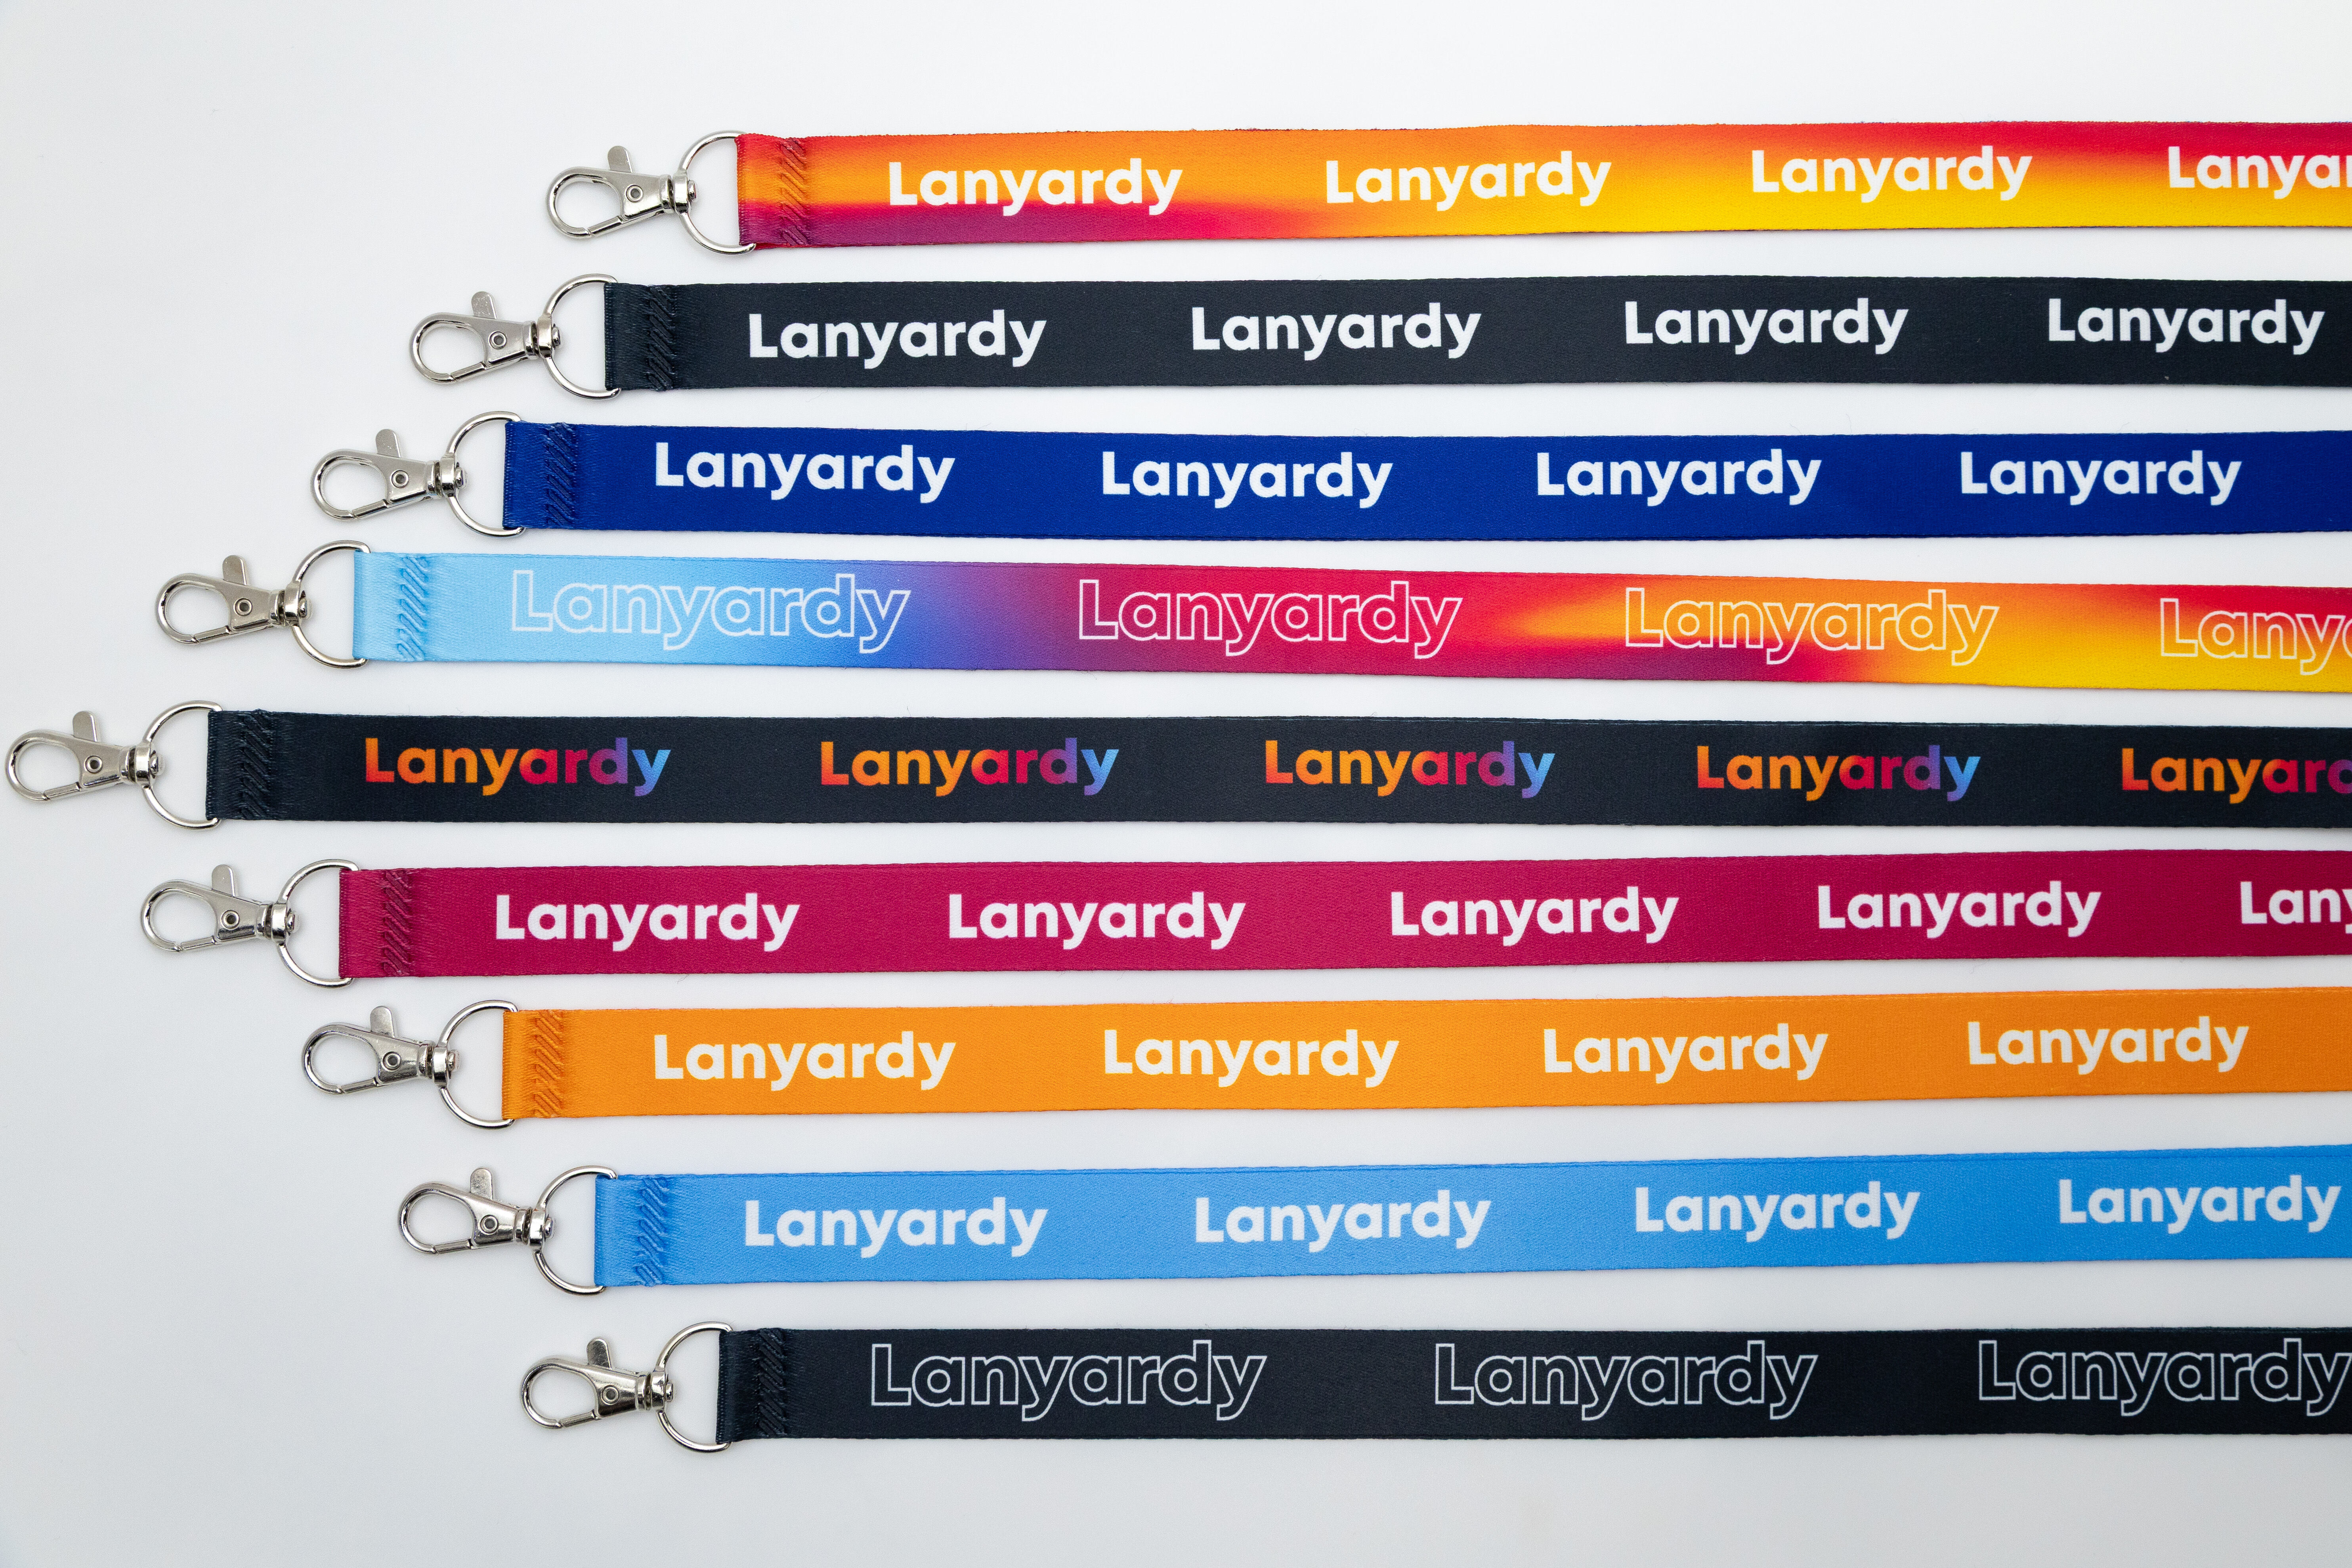
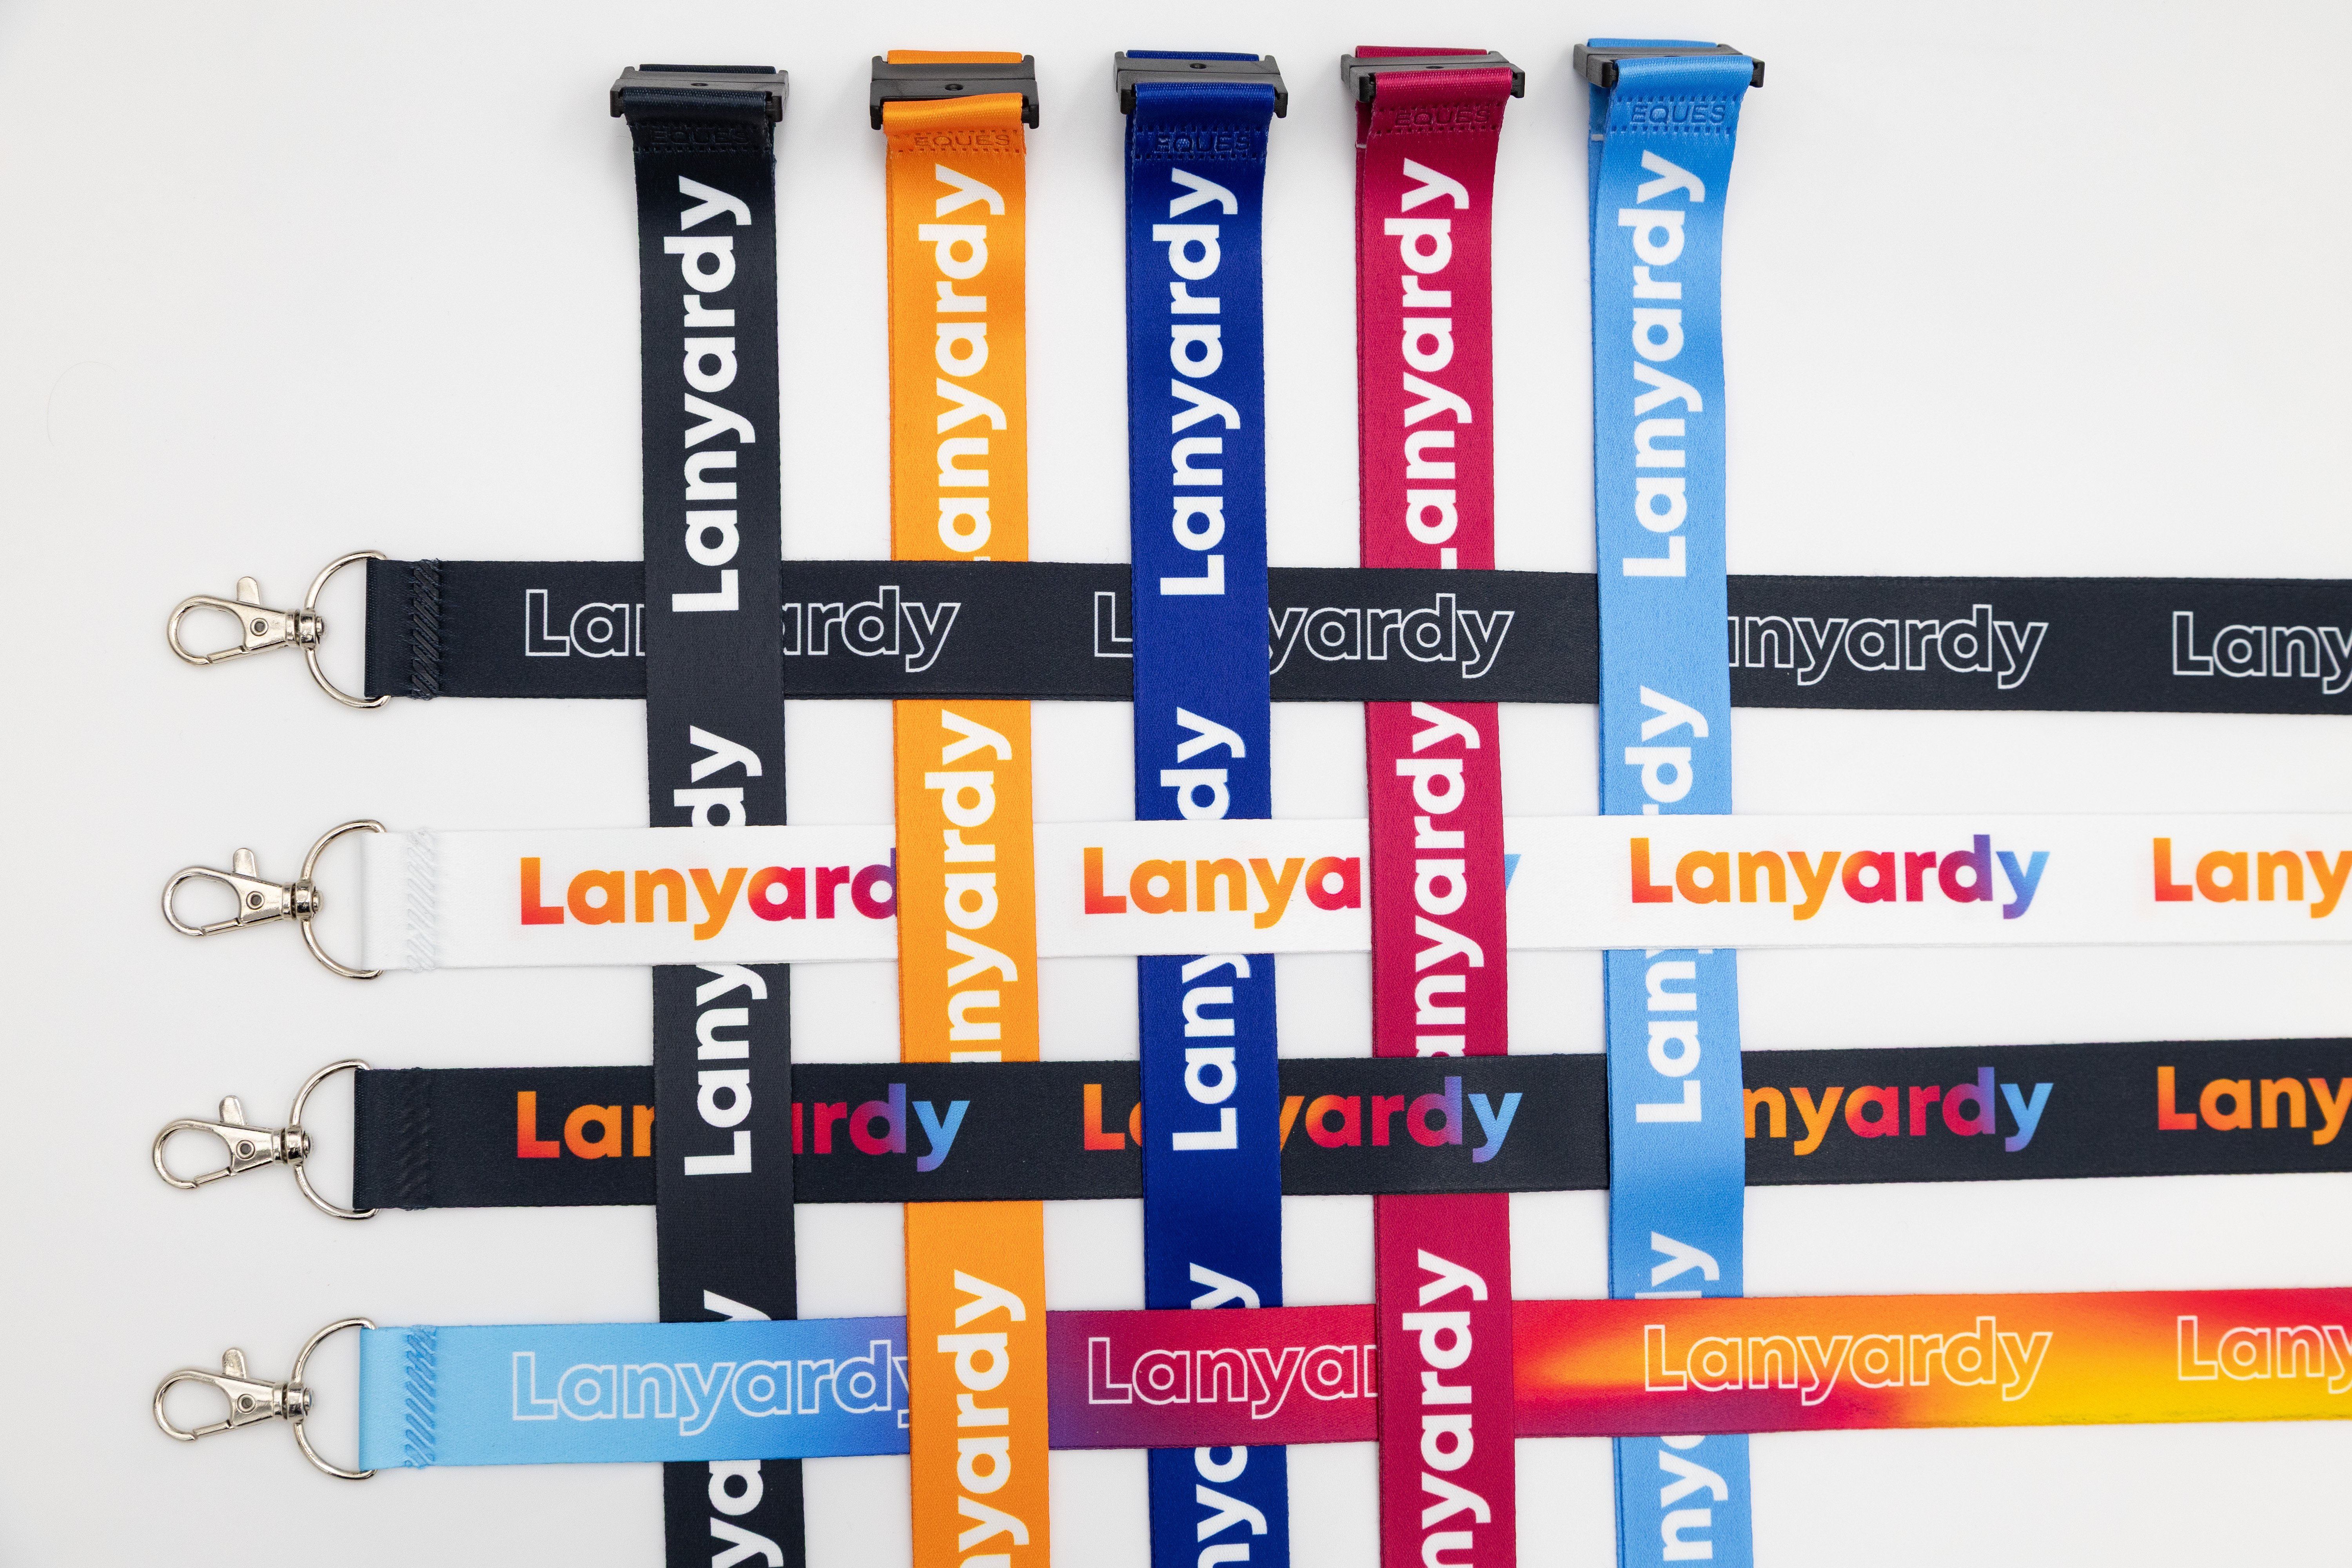
Step 5: Sort the Lanyard at the Same Time
Badges and lanyards are one system. If you order them separately, you risk clip sizes that don't match, colors that are slightly off, and two deliveries arriving on different days.
Order them together from the same supplier. It simplifies procurement, keeps branding consistent, and gives you one point of contact if anything needs adjusting before the event.
Step 6: Give Yourself Enough Lead Time
This is where most badge problems start. Badges feel like a small task — they get pushed back — and then suddenly the event is ten days away.
A realistic timeline from brief to delivery:
- Artwork and design: 2–5 days depending on complexity
- Proof approval: 1–2 days (allow a round of revisions)
- Production: 1–5 days depending on volume and material
- Buffer for corrections: at least 3 days
That's three to four weeks minimum for a comfortable run. A local manufacturer in Qatar compresses the production window significantly — but you still need time for proofing and approval. Don't rely on speed to compensate for a late start.
The Mistakes That Catch Organizers Out
Leaving it too late. Already covered — but worth repeating. It's the most common and most avoidable problem.
Not planning for late registrations. Guest lists always change. Have a process ready: a small reprint batch, an on-site printer, or a clear system for handwritten walk-in badges.
Skipping the physical sample. A digital proof doesn't tell you how the badge feels, how the print looks under event lighting, or whether the clip fits your lanyard. Ask for a sample before approving a full run.
Overcrowding the design. Every element someone wants to add to a badge is reasonable on its own. Together they make a badge nobody can read quickly. Be ruthless about what actually needs to be there.
Ordering badges and lanyards separately. See Step 5.
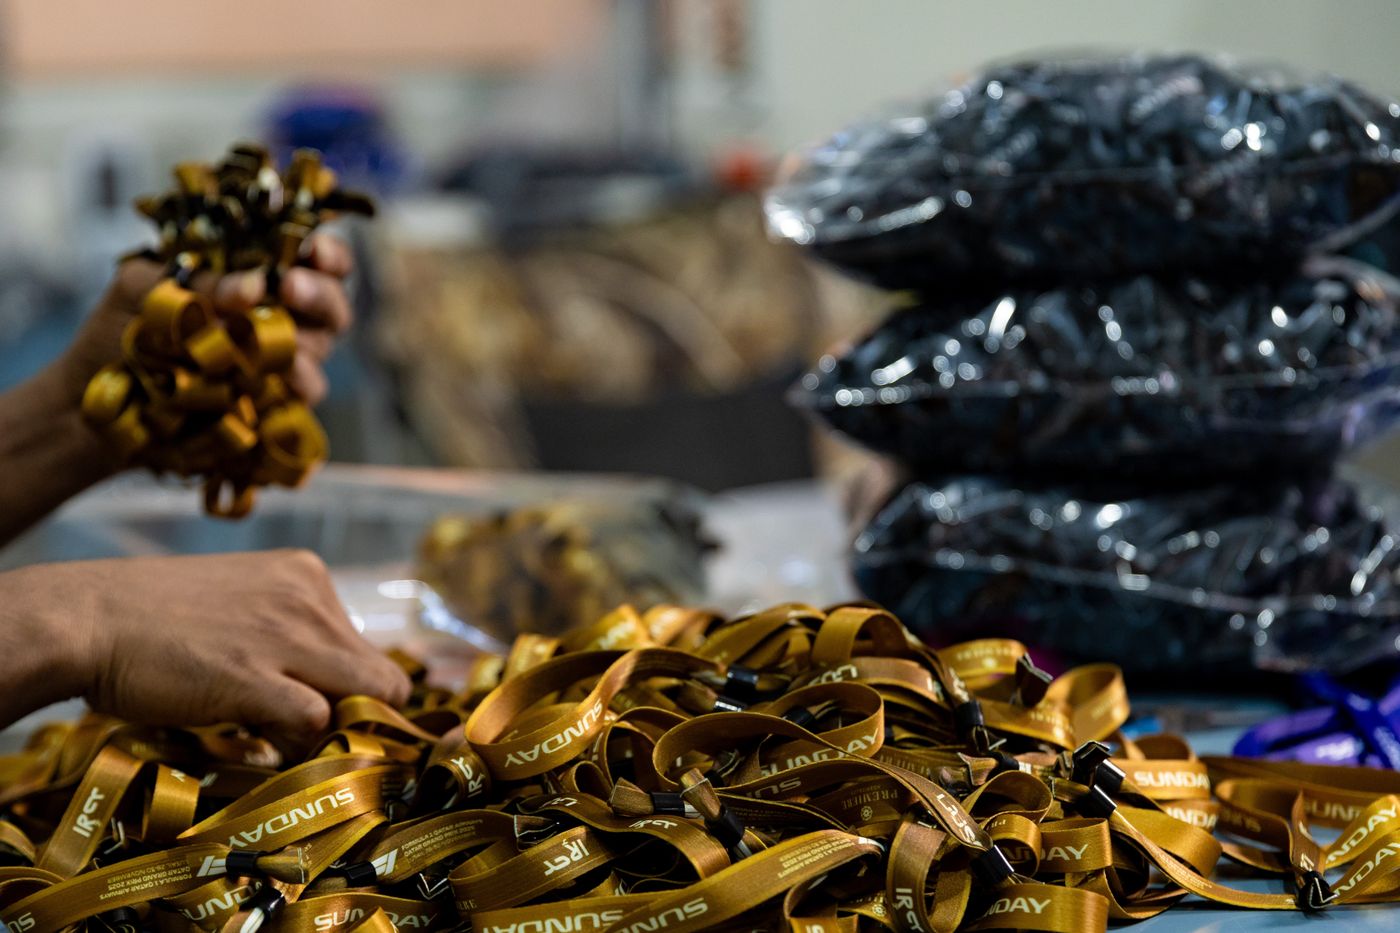
Choosing a Supplier in Qatar
Most suppliers here are print and promotions shops — they offer badges alongside dozens of other products and outsource the actual production. That works for small orders with generous lead times.
For anything at volume, or with a tight deadline, the questions that matter are: do they manufacture in-house or outsource? Can they handle your quantity within your timeline? Can they produce badges and lanyards together, matched to the same specs?
Lanyardy™ manufactures event badges locally in Qatar — PVC and eco-friendly PLA, UV-printed, at our facility in Al Wukair. We produce 1,000 badges in around four hours and scale to 10,000 within 48 hours after artwork approval. Badges, lanyards, and accessories from one supplier, one order, one delivery.
Quick Reference — Before You Place an Order
- Badge type decided (paper insert / PVC / RFID)
- Access tiers mapped and color-coded
- Badge information confirmed (name, title, QR, back of badge)
- Pre-print or on-arrival decision made
- Lanyard chosen and ordered together
- Artwork and brand assets ready
- Lead time checked against event date
- Physical sample requested